Stake attention in this memory
instructions
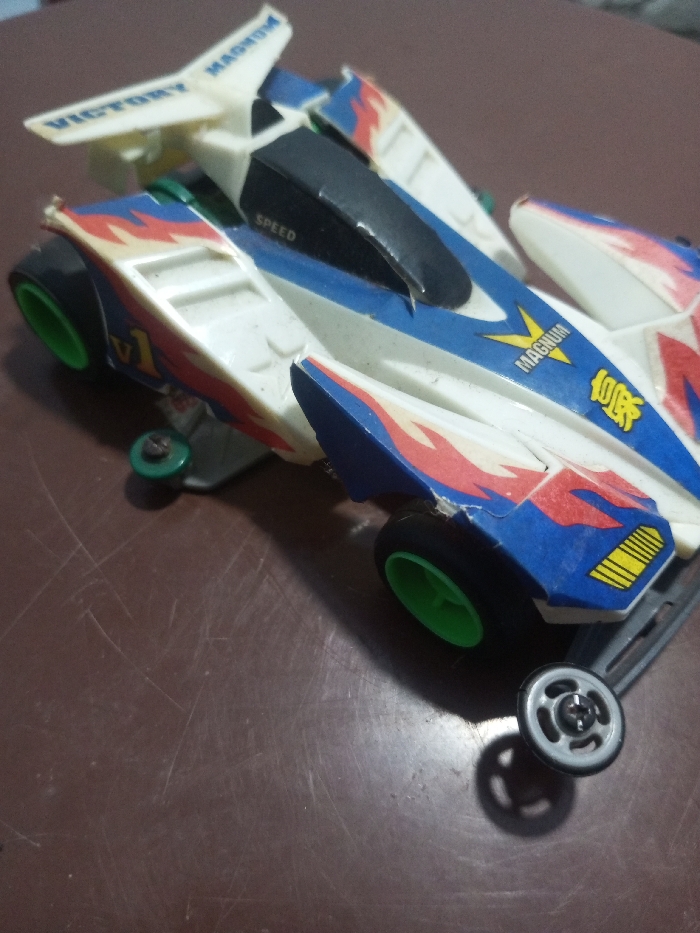
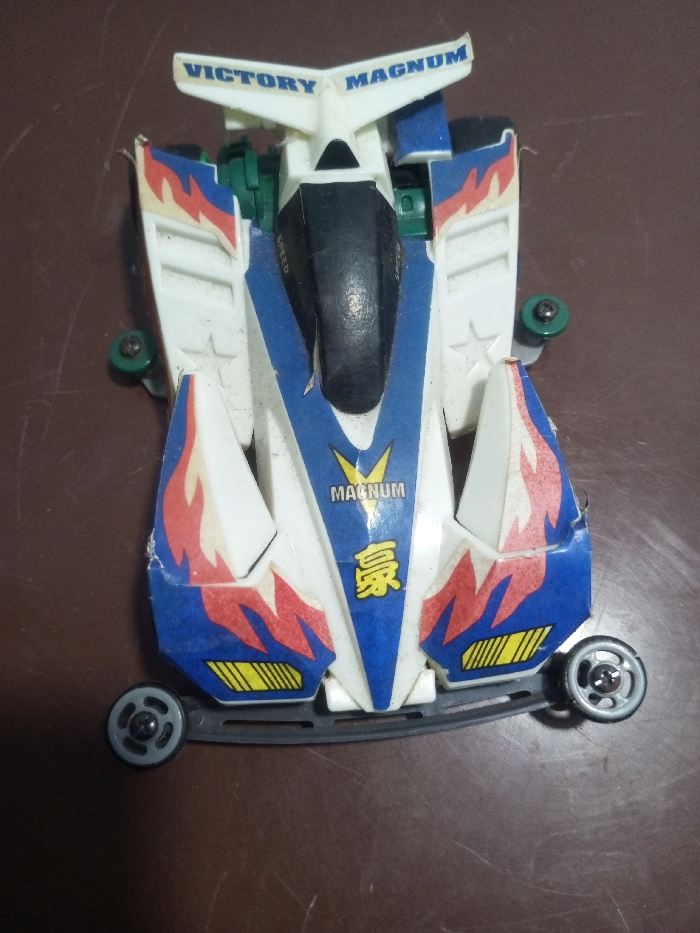
toy car
assembly
diagram
Chinese text
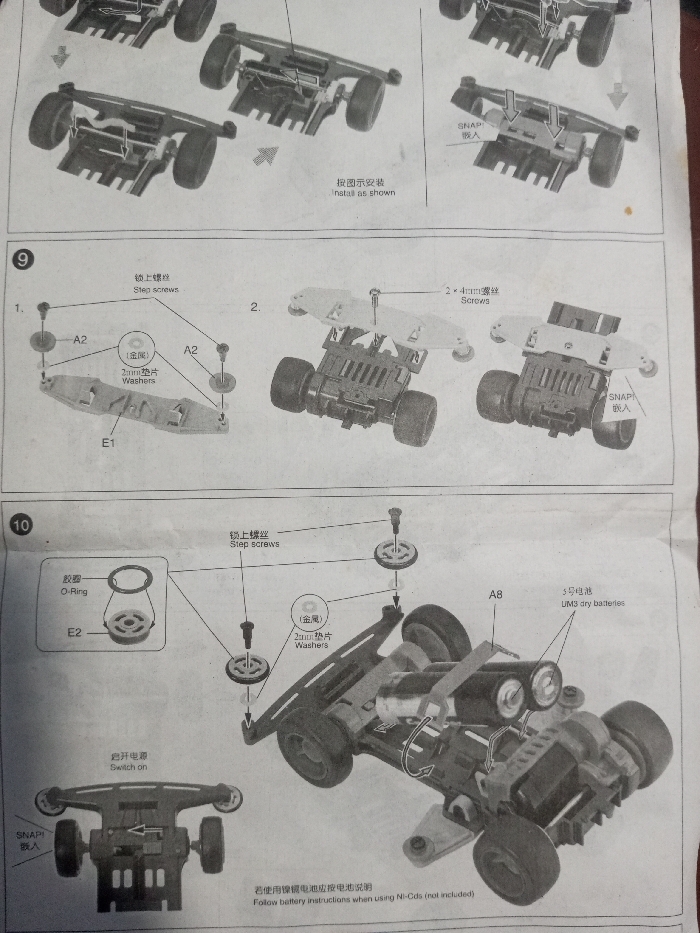
The image shows assembly instructions for a toy car. Step 9 involves attaching part E1 with screws and washers (A2). Step 10 details the attachment of an O-ring (E2) and washers to part A8, secured with step screws. The illustration also indicates where to insert batteries (UM3 dry batteries) and how to switch on the device (SNAP!). It cautions to follow battery instructions when using Ni-Cds.
transactions
revenues
stakers
Earliest
Latest
Highest stake
No transactions found